Return Zero

Author notes
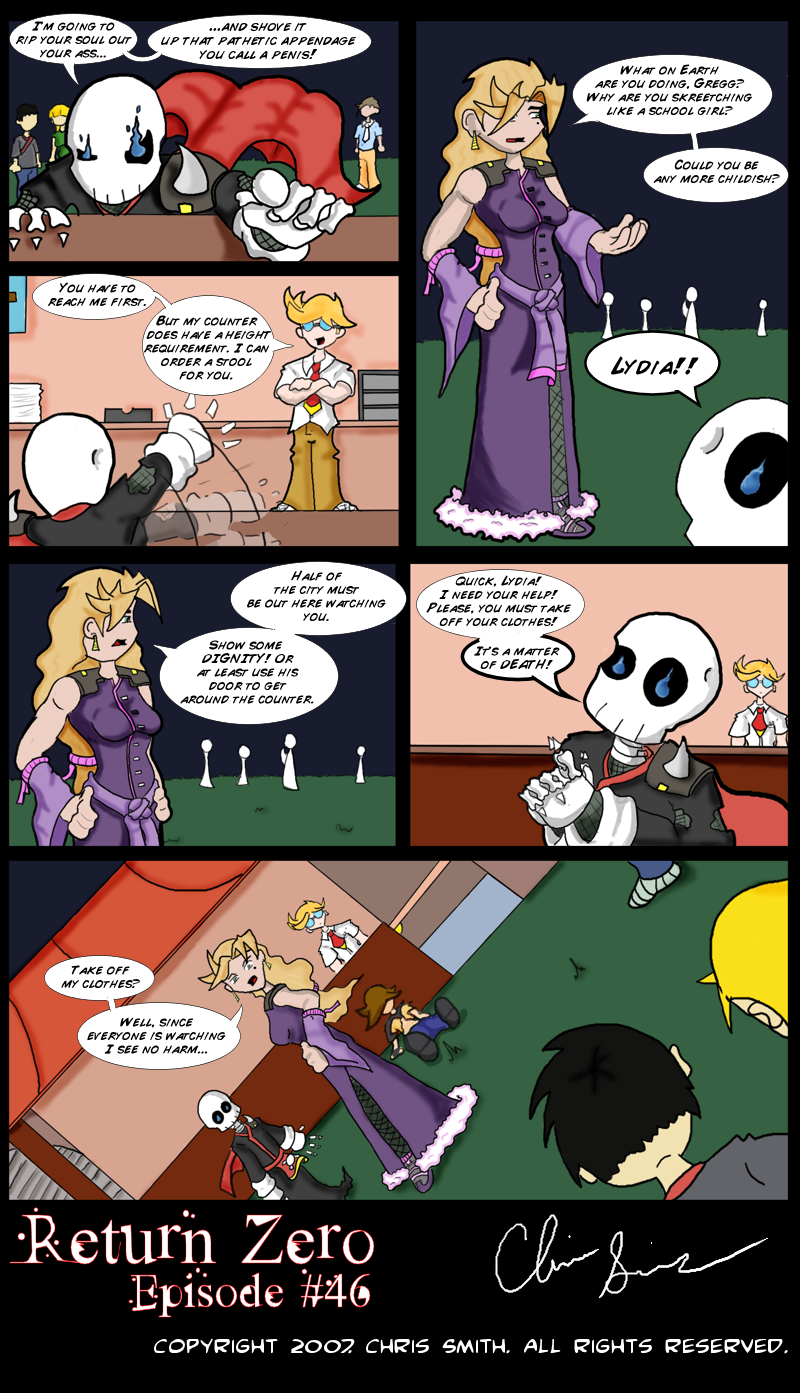
Naked! Now!
Rydel6 onBecause so many people demanded it and I had already planned it, here are some boobies. Well, not in the flesh, so to speak. Maybe next episode. I guess you'll have to check in and see. ^_~.
Funny thing. I kept forgetting alot of stuff to this page. How about I got all the way done with the text before I realized I forgot to put the whole point of the emergency, Evan, in the damn page? He looks sloppy, but at least he's there.
Doing these pages digitally prevents me from seeing the whole thing all at once, so it's easy to miss something.
Oh, and since some people have been asking how I do this, I decided to add a small step by step thingy on how I do Return Zero, but seeing as how every week I do it a different way, it may not be accurate down the road.
Step 1: View Image - I know that I want my comic to be at least 800 by 1300, so I double the canvas size to 1600 by 2600 and since I made a simple sketch on a pad I know how I want the panels to lay out. So I boxed it all out and set it as the bottom layer. It's best to also duplicate this layer, but use the magic want on the second one to remove the white areas. Everything you draw will be sandwiched between these two layers.
Step 2: View Image - With my workspace outlined for me, I make a new layer and I choose a small blue brush and begin sketching. Don't be afraid to make stray marks; they don't show up later. Also, if you'd rather sketch on paper and then scan it, some scanner's don't pick up light blue color pencil. If you ink over it, only the ink will show. Test this out before you try a whole page first!!
Step 3: View Image - Next make another layer and with a thick brush I ink the outlines of all characters and any important forground objects. I then reduce the size and ink the inside lines.
Step 4: View Image - In a new layer I put down the base colors for all of the characters and anything they directly interact with.
Step 5:
View Image - I've been told that the burn and dodge tool is the poor man's shading tool. Until recently I used a new multiply layer, but since I'm in a rush IN THE SAME LAYER AS BEFORE I used burn and dodge to do the job. Since I hadn't done the background yet I was able to be a little sloppy without affecting, say, the sky. After all of the burning is done, go ahead and do the backgrounds.
Step 6: View Image - Now that all of the coloring is done, I switch from Adobe Elements to Paint Shop Pro to do the lettering. Before that, I merge all of the layers and type the text on a new top layer. After it's all layed out, in a layer under the text I used the circle tool to make the bubbles and then made the arms from the bubbles using the pen tool drawing freehand.
And that's it! That's how this page came into being.
I wonder how many of you even read all of that. Lets see if I get copycat-looking comics now. ^_^ But I hope it helps some of those still out looking for their own style.
But it's almost 6 am and I have to get up at 8 am. So goodnight everybody!
Oh, and remember: Leaving comments raises Princess Di from the grave! Comon! Think of the starving childern! So much sweet flesh for the Zombie Princess to feast upon…


Comments
Please login to comment.
Login or Register${ comment.author }} at
${ comment.author }} at